Mount Gigant: Secrets
You can find a few hidden rooms inside Mount Gigant. Most of them will only have Ancient Essence chests but two rooms have better stuff inside: one room contains the unique Precursor Crucible that allow you to upgrade any item up to tier 10 (prepare a lot of Essence for that) and the room behind the locked door at the end of the dungeon lead to Svetlana Twofeather, where you will find 2 copies of the Zel-Claw weapon. You will need some kind of explosives to reach those rooms aswell as an oxygene source. A grappling hook is also recommenced at some point (you may be able to do it with some other trick, but i don't know how).
Hidden Rooms
Hidden Rooms in the first part of the dungeon
Left Side
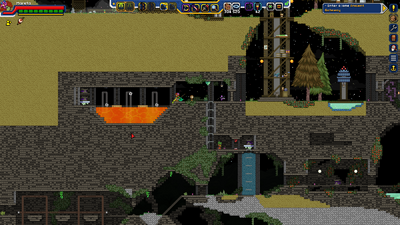
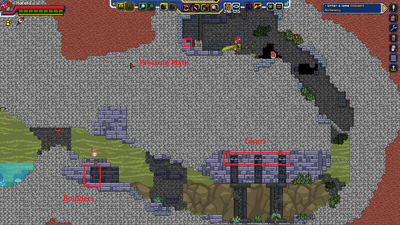
You can find the first hidden room right before entering the room where you need to fight Twiguns/Omnicannons. Climb in the room above you and blow up the Red Door with explosives. Cross the room to your left to reach 2 Ancient Essence chests, but be careful since there's lava and sawblades in this room.
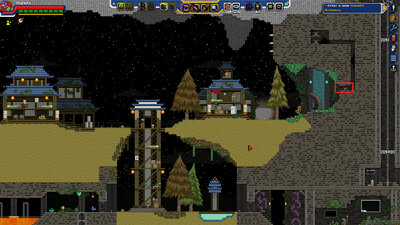
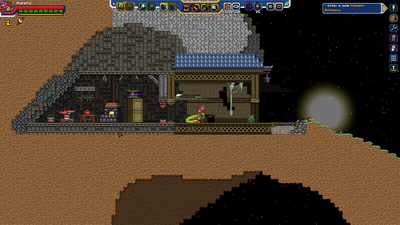
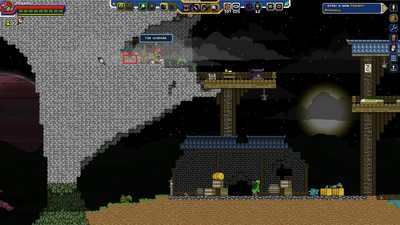
You can find another room with 2 Ancient Essence chests a bit further. After opening the doors of the wooden tower where 2 Yokai attack you, head to the right. You will find a Frog merchant to empty your bag. The wall on the right of the Frog house can be mined with your Matter Manipulator, revealing a small conduit leading you to the 2 chests.
Hidden Room in the second part of the dungeon
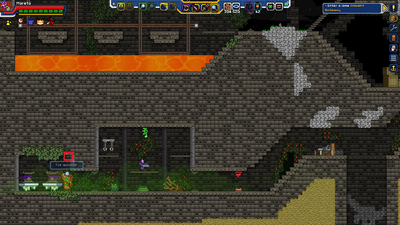
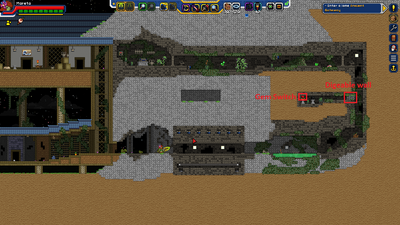
Shortly after using the elevator after the first boss, you will reach a statue you need to light up to activate a bridge above a lava pool. In the next room, you can dig a wall on the left to reach a small room with 2 Ancient Essence chests.
Precursor Crucible
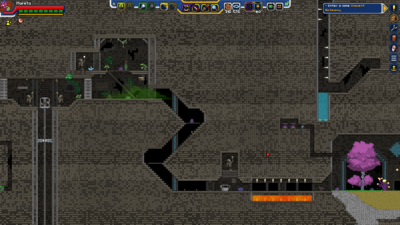
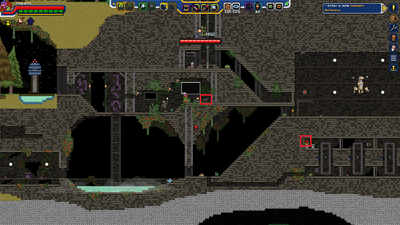
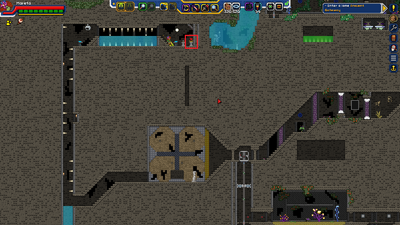
To reach the Precursor Crucible, head to the last room before the 2nd Vault Guardian, where you need to light up the 4 statues. Exit this room through the left and cross the trapped room with the lava and the saws. Keep going to the left once you reach the elevator to reach a room flooded with water. Dive into the pool and take the path leading you to the bottom right corner. There you will find a statue to light up. This will open the door to the Crucible, but it will also spawn 2 Omnicannons near you. Now swim in the water toward the left. Dodge the moving sawblades on the way. You can dig the roof right after those sawblades to reach a small room with 2 Ancient Essence chests. Exit the pool and enter a small library. The upper floor of the library has another Ancient Essence chest, but approaching it release 4 Swarpions. Exit the library to the left and you will reach a Red Door to blow up. Behind it, you will find the Precursor Crucible. Note that upgrading an item from tier 7 to tier 10 coest 88 100 Essence, so get a good stock of Essence if you want to upgrade your gear here. Blowing up the door release 6 melee Yokai and 3 ranged ones on your way back.
Svetala's Room
To open Svetlana's room, you will need to find and activate 5 Gem Switch hidden through the dungeon.
First Switch
The first Switch is located at the very beginning of the dungeon. After starting the dungeon, head to the right and cross the Hyotl house. You will reach a Red Door that you can blow up with explosive. The hallway behind the Red Door is trapped: boulders will come rolling down from behind you and lasers will be shot from the ceiling. Get upstairs and you will find a lone chest. A pressure plate is hidden behind that chest. Step on it and 4 Yokats will attack you and a door will be open on the other side of the map.
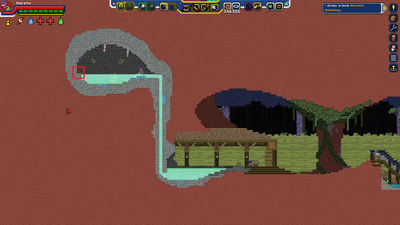
Head back to the starting teleporter and go to the left. You will reach a small building and find the wooden gate open. Dive into the healing water pond and climb the conduit to the left. You will find the first Switch in the room at the end of the conduit. There's also 2 fossils in this room that you can reach by using a rope/grappling hook on the ceiling and the brush in your other hand.
Second Switch
The second switch is located in the left side of the first part of the dungeon. After crossing the pit with spikes, climb down the stairs. At the bottom of those stairs, the floor will open, making you fall inside a pool of slime with spikes, so jump before it open. You will then reach a Red Door to blow up. Activate the console in the next room to spawn 3 Minions that you need to defeat before opening the doors. To the left of that room you will find 2 Ancient Essence chests and a pressure plate on the ceiling of the room. Jump to trigger it.
After activating that pressure plate, continue your way in this part of the dungeon until you reach the room where Gosmets attack you. Climb in the room above and you will find an opening in the wall to your right. Inside this room you will find a console that will spawn 3 Omnicannons near you and open a conduit before the first boss. Head there and use your Sphere to crawl in this conduit. You will reach a small room with sawblades moving in circle and the second Gem Switch (aswell as a chest) waiting for you at the end of the room.
Third Switch
The third switch is located in the right side of the first part of the dungeon. Right when you start this path, you reach a stair where 4 Yokats attack you. Climb inside the small building and jump out of the windows to the left to reach a small platform located above the entrance of this room. There you will find a few chest and a small pressure plate on the far left of the platform.
After stepping on the pressure plate, head to the first area where you fight Yokai. You will find a door open in the wall to the right now. Head inside and you will have to cross a few trapped rooms to reach the switch. The first room will close once you get inside. Lasers will start to be shot down from the ceiling and 2 sawblades will move on the floor. Simply stay between 2 lasers and jump above the sawblades. The exit will open and the lasers will stop after ~30 seconds. You will then reach a room with a pool of slime. Once inside the slime, the door to the right will close and 2 Twiguns will spawn on the ceiling (the one on the left can be hard to spot). Destroy both Twiguns and start climbing the platforms to the right. You will notice that a wall to your left is made from different blocks while climbing. Use your Matter Manipulator to dig out this wall and you will find the third Gem Switch there. Finish climbing the platforms and activate the console to reach another chest. Just dodge the lasers on your way (the first one can be dodged by crouching/using the Sphere, while you will need to stand on the platform in the center of the room to dodge the second one).
Fourth Switch
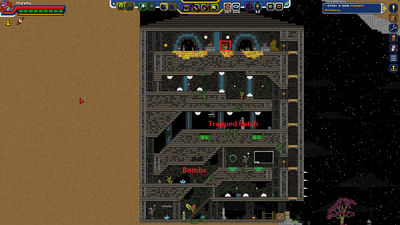
The fourth switch is located after the first boss. Use the elevator and head to the left. Watch out for the ancient block floor dissappearing to not fall on the spikes below. You will then reach a small building where you will find the fourth switch. Light the statue using any light source (your scanner, N key by default, works) to open the door leading to the challenge room. You will need to reach the top of the building before the exit closes (after ~30 seconds). Jump above the saws on the first floor, jump above the slime pool on the second floor and watch out for bombs raining down on you after the pools. Third floor has 2 trapped hatch that drop you on spikes inside a slime pool and the last floor will require you to jump between saws. You will then find a few chests and the fourth Gem Switch. Head back to the elevator but watch out for the 4 melee Yokai that show up when you light up the statue.
Fifth Switch
The last switch is located in the second part of the dungeon. When you reach the elevator with the 2 stops leading you to two different path, go to the second stop and exit the elevator to the left. Turn off the 4 torches in the room and unequip any light source you have. A door will open in the left wall once it's totally dark in the room. You will then reach a pretty tricky platforming part: you will need to climb to the top of the conduit but there's spikes on the walls, meaning a Spike Sphere tech will not do the trick. I would recommend to use a grappling hook here. You will then reach a pool of water with spikes on the floor and the ceiling. A basic Sphere tech can cross this easily. You will find the last Gem Switch in the next room. Pull the lever to open the floor and get back in the dark room.
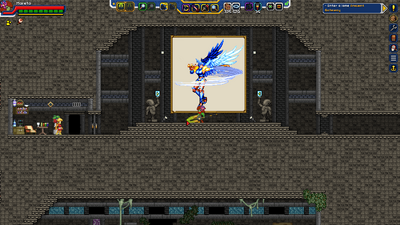
Reaching Svetana
After beating the second Vault Guardian, go to the left until you reach a block-made statue. If you activated all 5 Gem Switches, the door under the statue is open. You will then reach a room with a huge painting on the wall. Interact with the 2 statues surrounding the painting to get your 2 Zel-Claw. Svetlana is inside the room to your left and you can find some high tier loot in the container in her room.

